Historically, my hair styling has been limited. When my hair was extra long (think: below-the-waist length, the length of a gothic romance movie protagonist), my entire routine revolved around smoothing out frizz and maybe adding some curls for movement. Everything changed after a major haircut a year and a half ago – which I mistakenly thought would make styling easier. Short hair, it turns out, is a paradox: It’s faster to manage overall, but still requires daily adjustments to maintain the bob you see on TikTok. I eventually found my footing and settled for a breezy below-chin bob, which worked for me, but now I’m stuck in an awkward in-between phase as I experiment with growing my hair out. It’s not short, but it’s not medium length either.
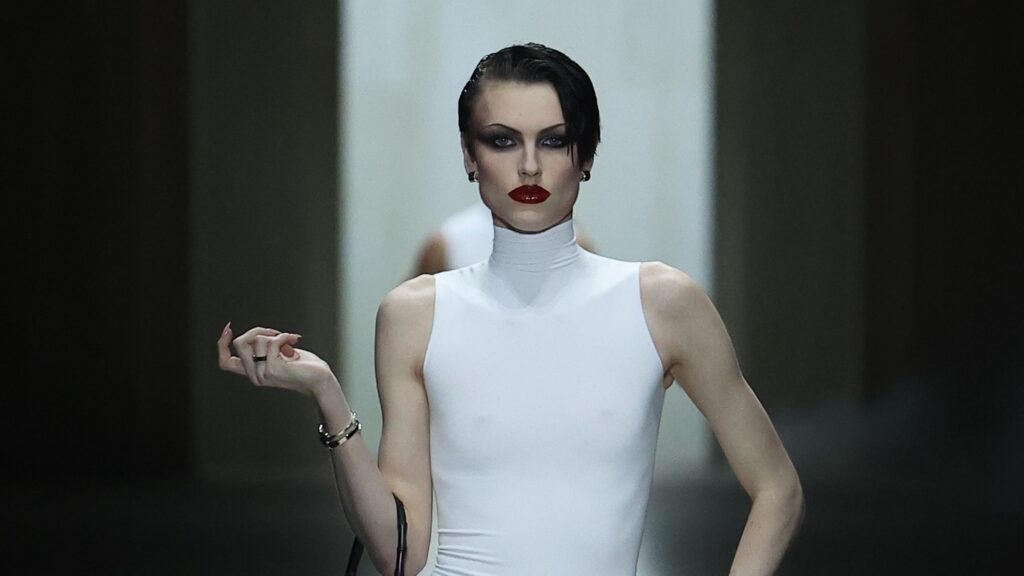
I turned to the 90s for inspiration (as one does). After a late-night binge-watch of Charmed, I pinned photos of ’90s supermodels on the catwalk to my Pinterest board, amplifying the energetic outbursts of Yasmeen Ghauri, Christy Turlington, and more. This look seemed like the perfect styling solution, but I didn’t quite know how to achieve it, and I certainly wasn’t going to the salon every week. So I became obsessed with perfecting the bouncy blowout move.
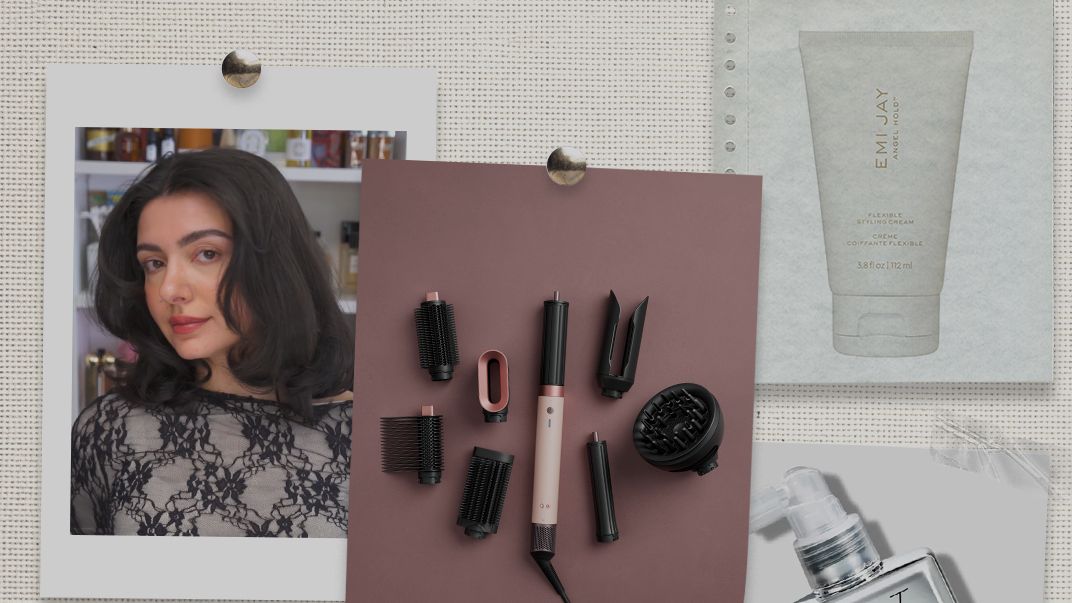
fashion magazine Favorite blowout essentials
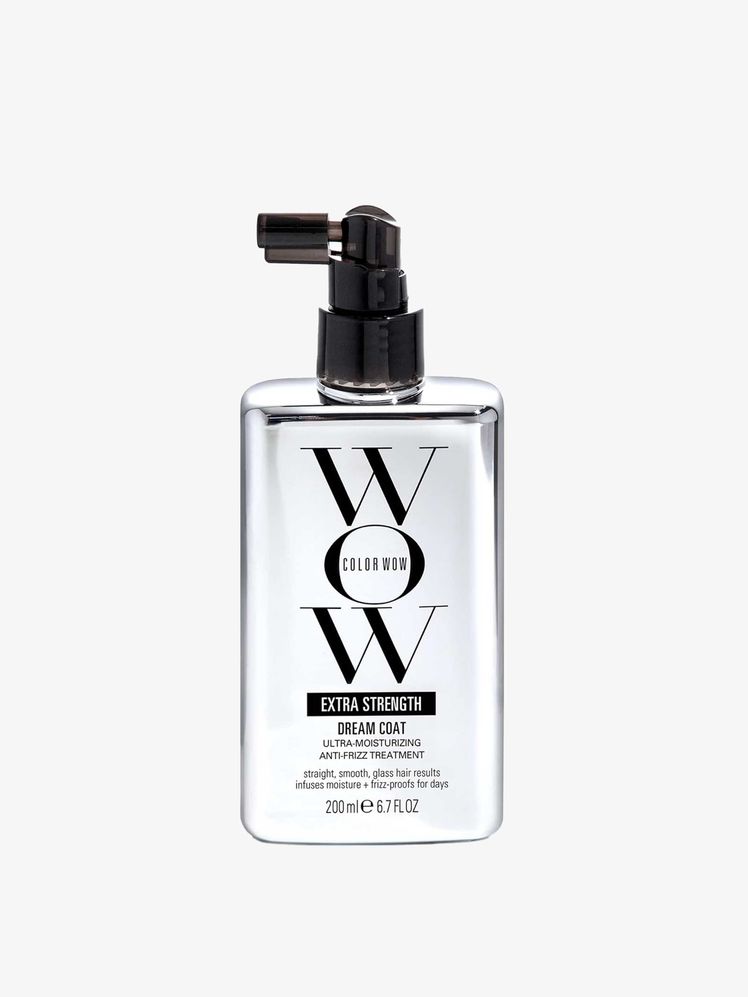
Color Wow Extra Strength Dream Coat Anti-Frizz Treatment
Read more
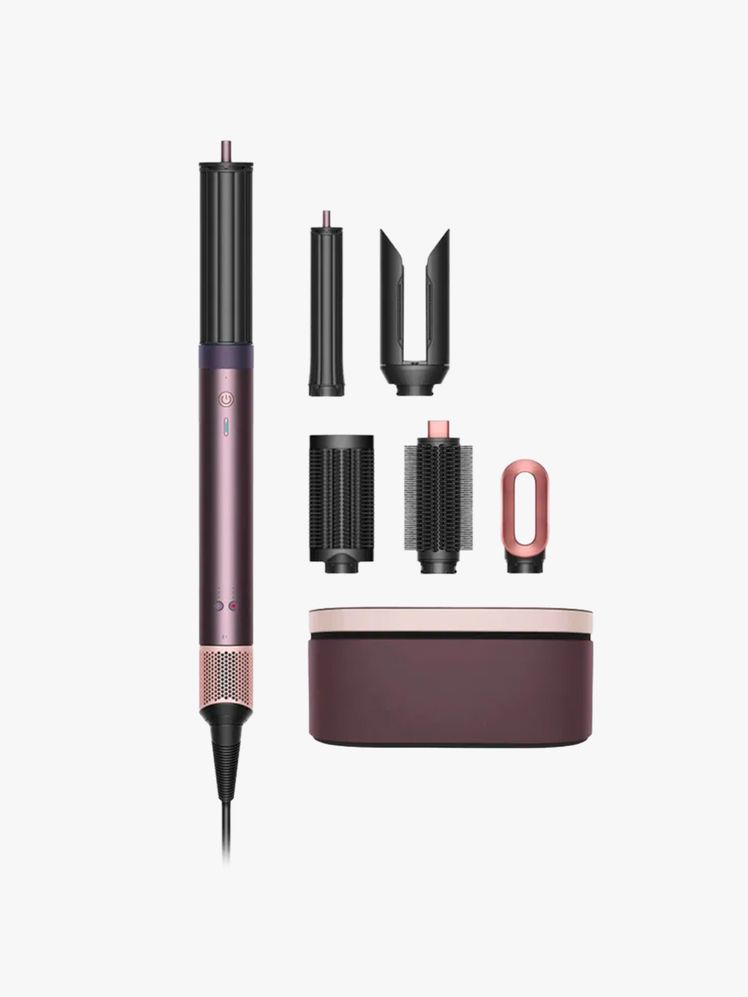
Dyson Airwrap Coanda2x
Read more
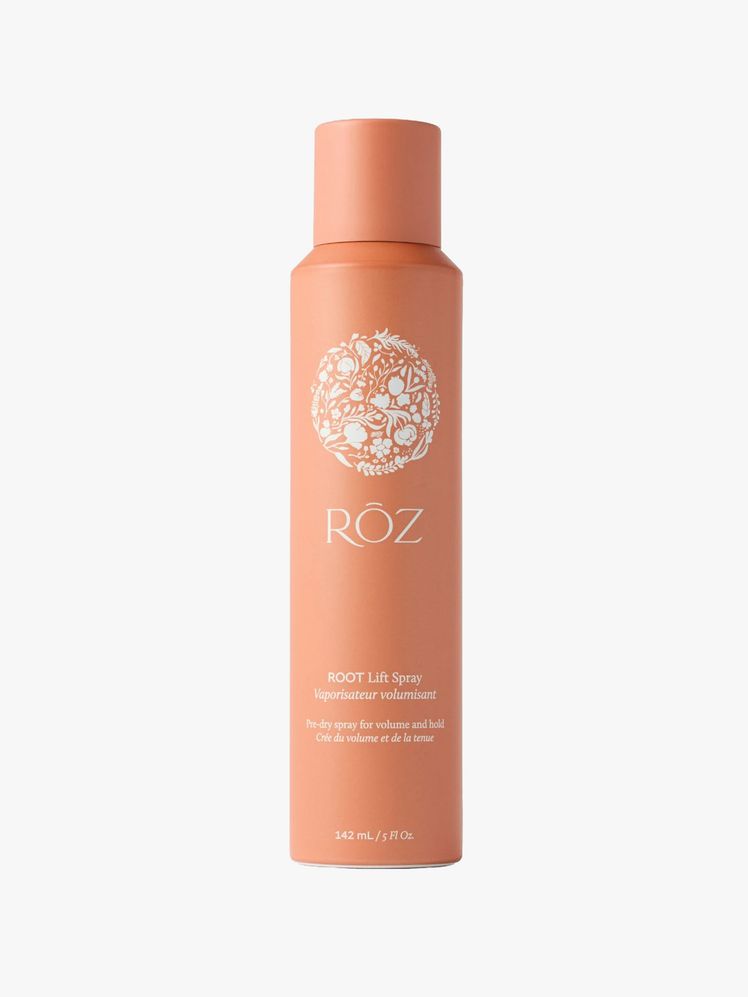
Rōz Root Lifting Spray
Read more
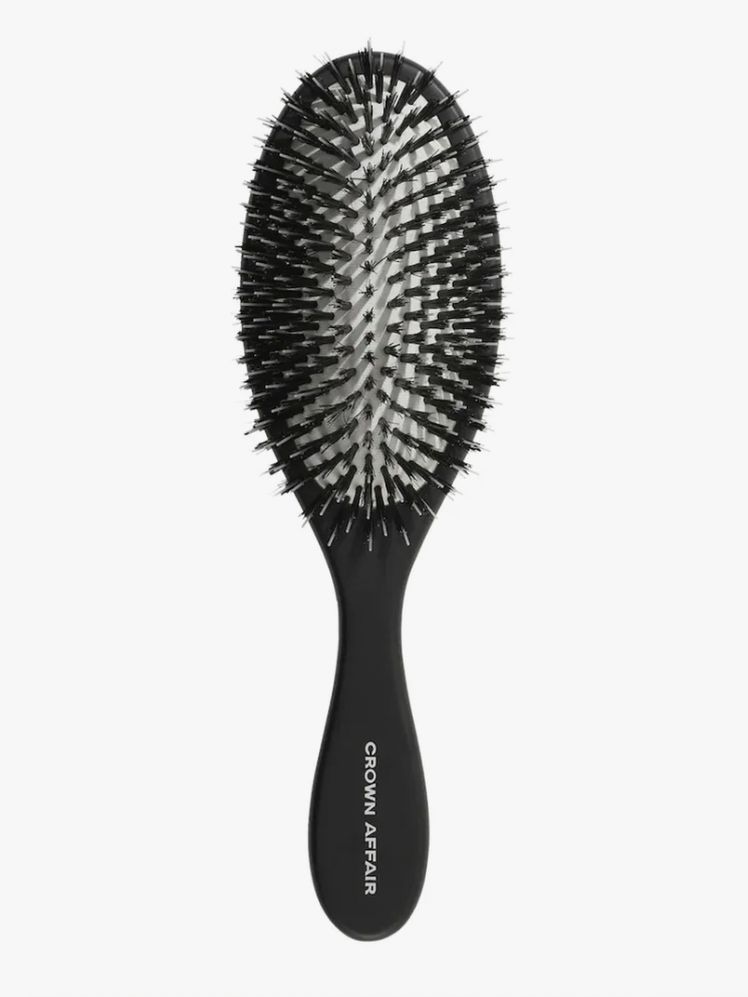
Crown Business Brush No.001
Read more
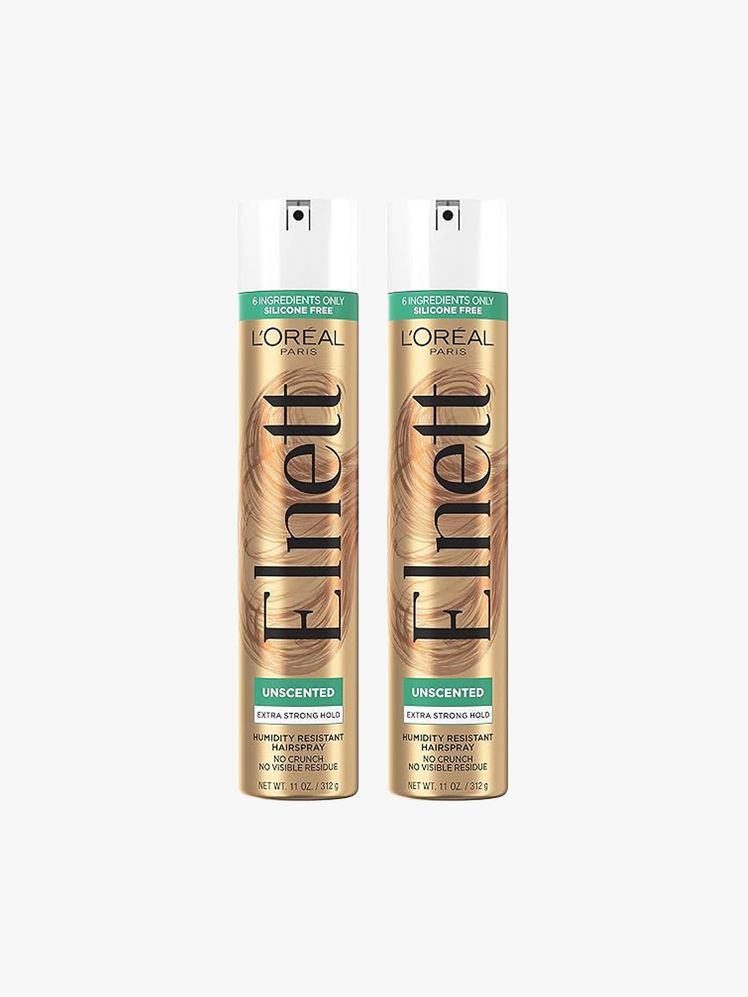
L’Oreal Elnett Satin Super Hold Hairspray
Read more
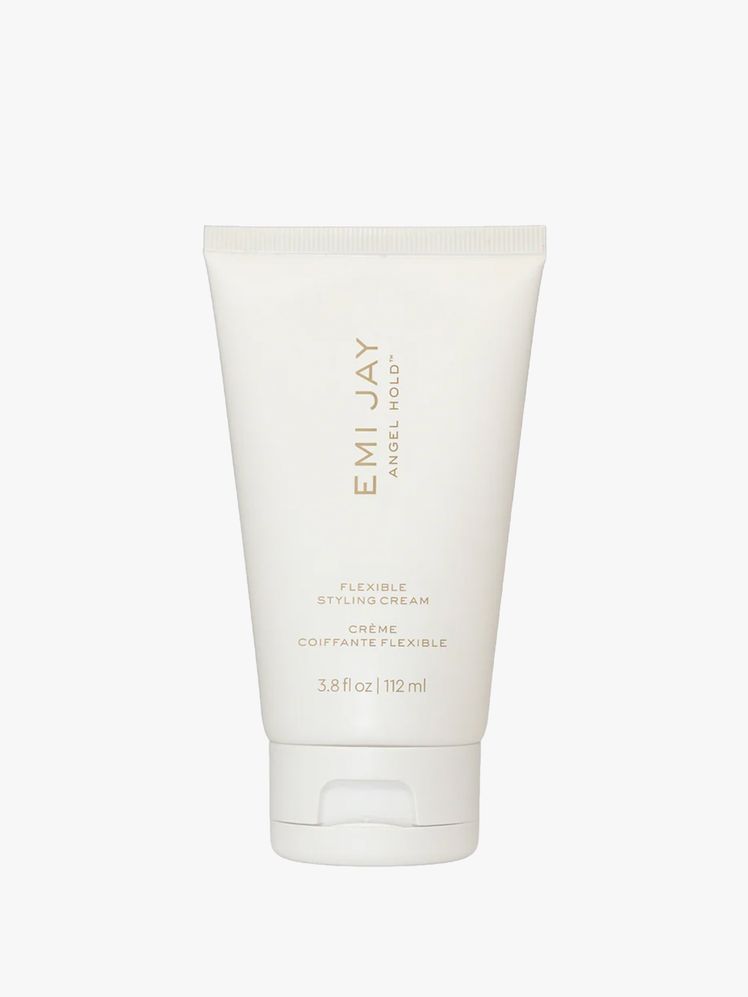
Emi Jay Angel Styling Cream
Read more
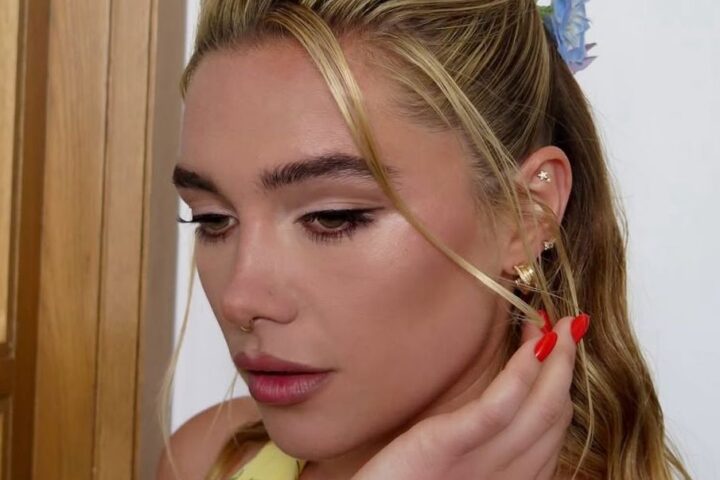
Turns out Hailee Steinfeld is going to change my regimen for the better. Her supermodel blowout tutorial comes to the rescue! As she works, she holds the round brush horizontally and guides the dryer down, giving the ends a perfect, subtle flip. “So, that’s the secret!” I thought. This is a concept that I completely understand, but professionals have long known as well. “The placement of your tools determines the volume, bend, and overall effect of your hairstyle. Placing your tools horizontally can give you a lifted, bouncy ’90s effect, while placing them vertically creates a softer movement,” says celebrity hairstylist Yusef, whose clients include fashion girls like Rihanna and Tyla. Fashion.
Of course, I made some adjustments. I was too impatient to get my curls into curls, and my blow dryer coordination left room for hair to grow. But after some trial, error, and strategic shortcuts, I found a version of the routine that works for me. What was the result? Let’s just say I couldn’t walk through the office without someone stopping me from commenting. Is it convincing enough? Keep scrolling for step-by-step instructions and a full video breakdown at the end.
in this story
first step: Start with heat protectant
If you’re not planning on frying your hair, then heat protection spray is something you can’t ignore. When I’m styling with an airflow tool like a multi-styler, blow dry brush, or blow dryer, I prefer to use a heat protection spray rather than a cream or dry spray. I always start by saturating freshly washed, towel-dried hair from roots to ends with the formula of my choice. I usually choose ColorWow’s Dreamcoat because it prevents damage and gives my jet-black hair a lovely shiny, frizz-free shine. Meanwhile, other popular options include Mizani’s Hydrating Mist and K18’s Adhesive Repair Pick.